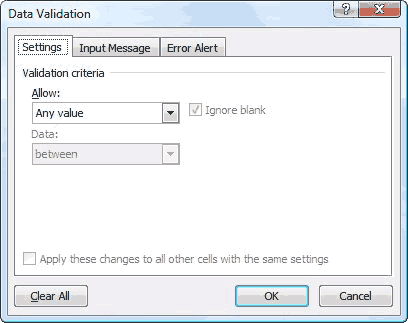
There is a really cool way you can use the validation feature in Excel and that is to create a single-use drop-down list. Your list will allow users to select the cell and then select from a list of pre-defined values for that cell. Once they have made their selection and moved on to another cell, the arrow for the drop-down list will disappear.
First you have to create your list of values that you would like made available to your users. You can create your list anyplace you like but it is usually a good idea to put your list on a different worksheet from your data entry sheet.
You can follow along and create a list of Classes.
On a new worksheet key in the names of your classes, which for this exercise will be Basic, Intermediate, Advanced, and Professional.
Once you have done that, select your list and give it a name, such as Classes. If you are not familiar with the steps to do this, simply display the Formulas tab on your Ribbon and in the Defined Names group, clickDefine Name.
Ok, now follow the steps below:
- Select the cell where you would like your drop-down list to appear.
- Display the Data tab of your Ribbon.
- In the Data Tools group, click the Data Validation tool to display the dialog box. The Settings tab should be visible.
- Using the Allow drop-down list, select List.

- Be certain the In-Cell Dropdown check box has been selected.
- In the Source box, enter: =Classes.
- Click OK.
Now, whenever a user selects the cell you used in step one above, they will see a drop-down arrow to the right of the cell and clicking it will provide them with a list of the classes. The user can select one of the classes, but cannot enter a different class. When they move to a different cell, the drop-down list will disappear but the selected value will remain visible.

No comments:
Post a Comment