
I have been an Avast Free user for some time and am overall quite satisfied with the level of protection afforded, suffice to say that I can’t even remember the last time my machine was infected. One of the features included with Avast is the ability to perform a Boot-time scan, in fact I believe it is unique to Avast.
A Boot-time scan can be beneficial because the scan is taking place before the operating system and drivers are loaded, and by association before any malware can be loaded as well. It is also the most thorough of scans because it scans everything, including any files which might normally be locked or in use.
It’s a very simple procedure to schedule a Boot-time scan in Avast… here’s how:
Open up the Avast interface by right clicking on the icon in the system tray and selecting “Open avast! user interface“. Or double click the desktop shortcut if available.
In the main interface, click on the magnifying glass icon in the left hand navigation panel as indicated in the following screenshot:
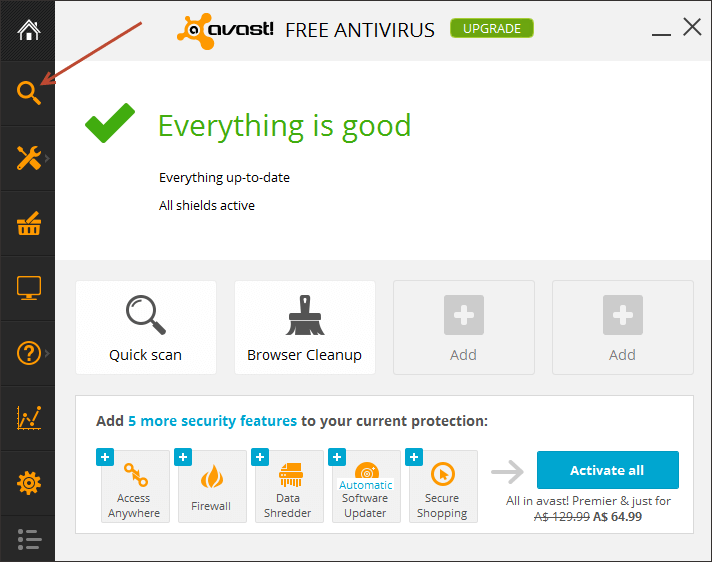
This will take you to the Scan options window.
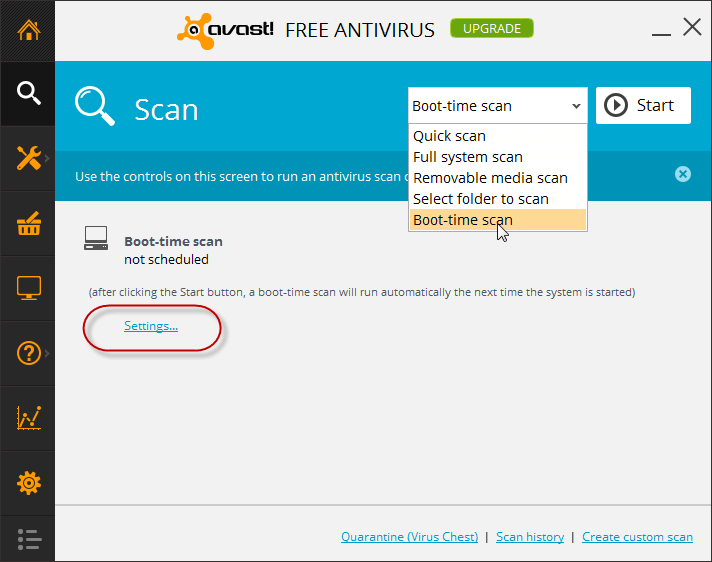
Now, from the drop down menu at top right, select Boot-time scan. Then click on the Settings link:
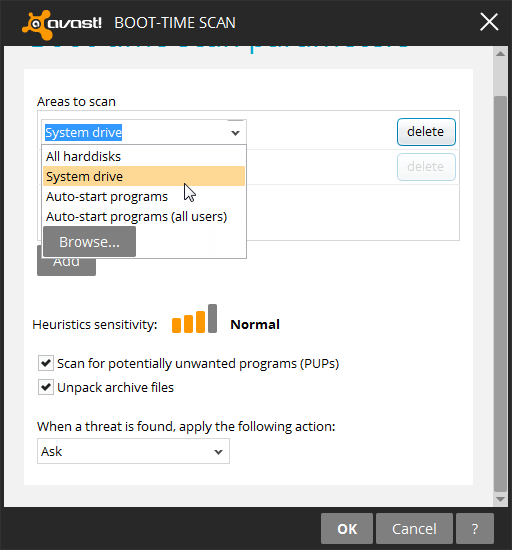
Here you can set parameters for which areas to scan as well as what actions Avast should apply upon identifying any malware (most users, most of the time, will just want to scan the system drive):
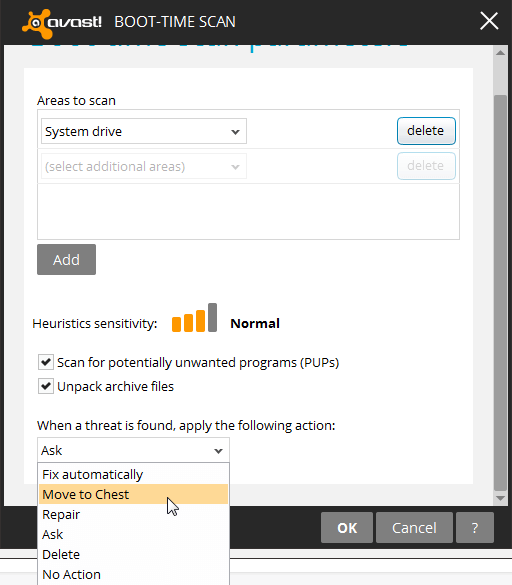
*Under “actions” it is suggested you select Move to Chest – do not select Fix automatically, Repair, or Delete! (more on that later).
Make sure both options – Scan for PUPs and Unpack archives – are enabled, and when ready click OK.
Now, back in the Scan options window, simply click on the Start button:

Now Avast will ask you if you want to restart the machine and run the scan immediately:
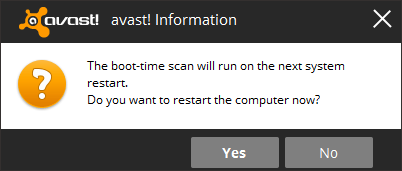
If that’s your intention, click the appropriate button. If you’d prefer to wait until later, bearing in mind that the Boot-time scan does take quite a long time, select No – (the scan will still run once the machine is restarted).
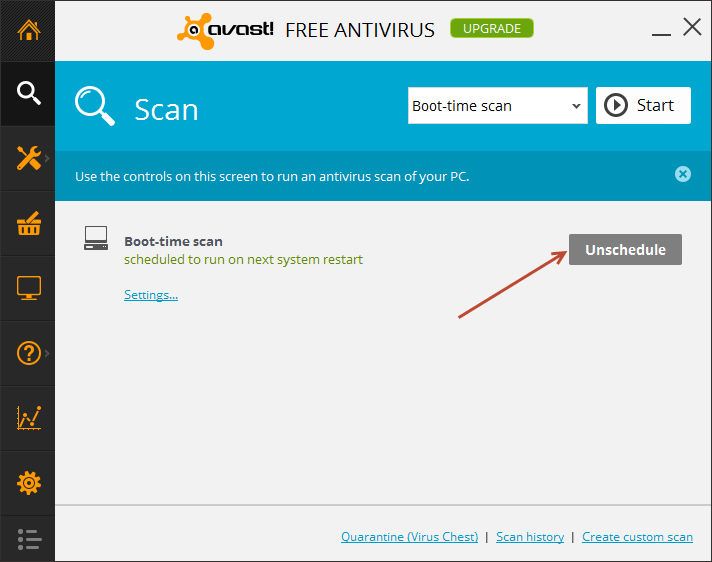
If, for some reason, you later change your mind and want to cancel the scan altogether, just access the Scan options screen again and click the “Unschedule” button:
Avast – Move to Chest plus Quarantine
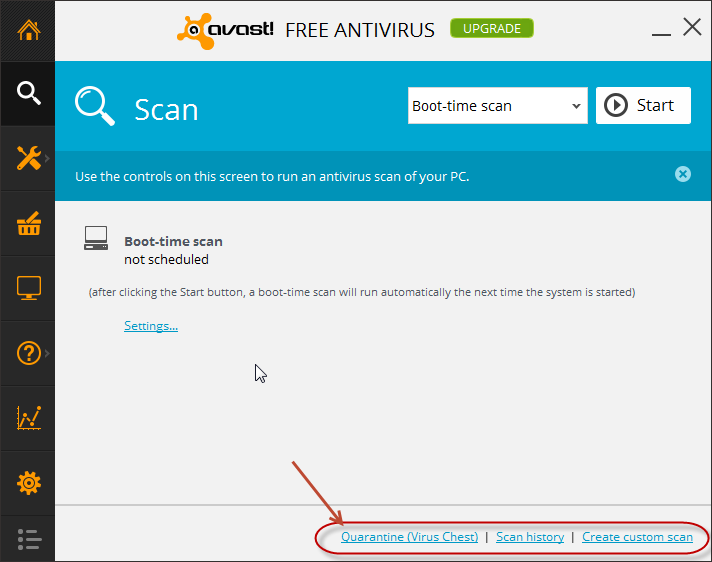
Selecting the ‘Move To Chest’ option will move any files identified as a threat away from where they can do harm and into “quarantine”. Access to quarantine, (aka the Virus Chest) is available via one of three links included at the bottom of the Scan options window:
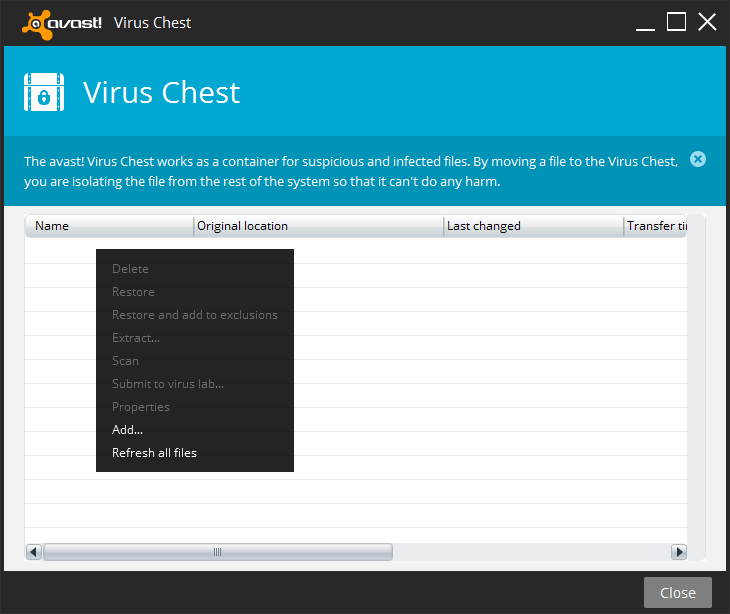
Reversing the action, moving a file from the Virus Chest back to its original location, or deleting a file permanently, is just a matter of right clicking the file in question and selecting either “Restore” or “Delete” from the ensuing menu:
Avast Boot-time Scan: Important notes!
System files and Actions
Avast’s Boot-time scan does generally take a long time to complete, often around 2 to 4 hours, depending on numbers of files – and here’s the rub - if a system file is flagged as a threat, even though the action parameter has been preset, the scan will pause and ask the user to confirm an action. The scan will not start back up again until that answer has been forthcoming.
While this is certainly a prudent precaution it can also be a pain in the butt. You start the scan and toddle off to bed only to wake the next morning to find it stalled while waiting on user input.
*If the scan stops and waits for an action to perform, do not use the “Yes” or “Yes all” options for system files – always press number 3 on the keyboard to skip moving the file.
A Powerful Tool!
The Avast Boot-time scan is a powerful tool, do not overuse it, only utilize it at those times if/when you have good reason to suspect your machine may be infected. Use with care and make sure not to select those ‘action’ options which lead to repair, fix, or deletion of files.
Boot-time Scan’s Log Files
Each time you run Avast’s Boot-time scan the program will log the event internally and, if a scan identifies malware, a log file is created and saved in Avast’s Program Data folder.
These event logs and logfiles can be accessed easily via the Avast interface.
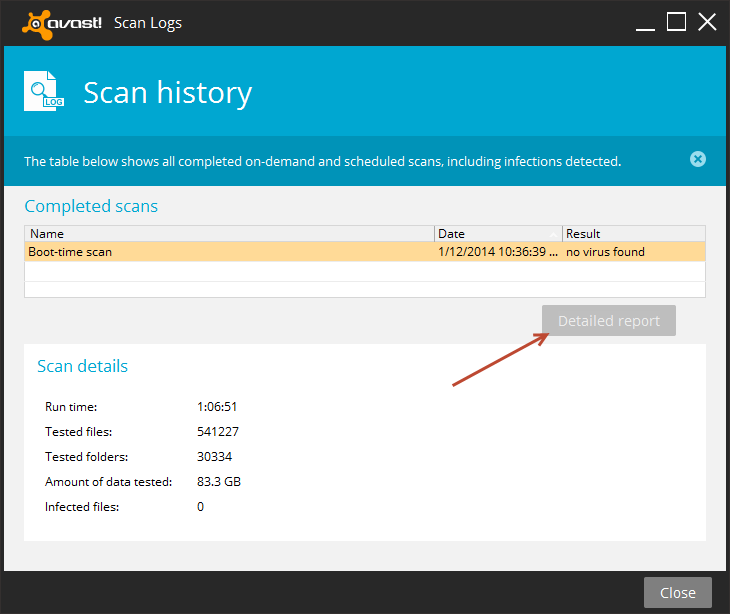
From within the Scan options window, click on the Scan history link at the bottom:

A new window will open which lists each Boot-time scan that has been completed. A clean scan will just appear here as a summary. Scans which have identified malware will be displayed in red, clicking on any of those red entries will activate the Detailed Reportbutton. Highlight the red entry you want to investigate further and click on that button to open up a… um… well… detailed report.
More experienced users can utilize these logfiles to analyze scan results after selecting “No Action” from Avast’s action parameters menu.
Bottom Line
Avast’s Boot-time scan can be a useful addition to a user’s malware cleanup toolkit but moves into dangerous waters whenever system files are involved. Please do utilize it only when necessary and always with the utmost caution.
No comments:
Post a Comment